From STL to a
printable wireframe
This guide walks you through everything Gridify3D can do — from your first upload to a finished, print-ready file. No installation, no plugins; it all runs in your browser.
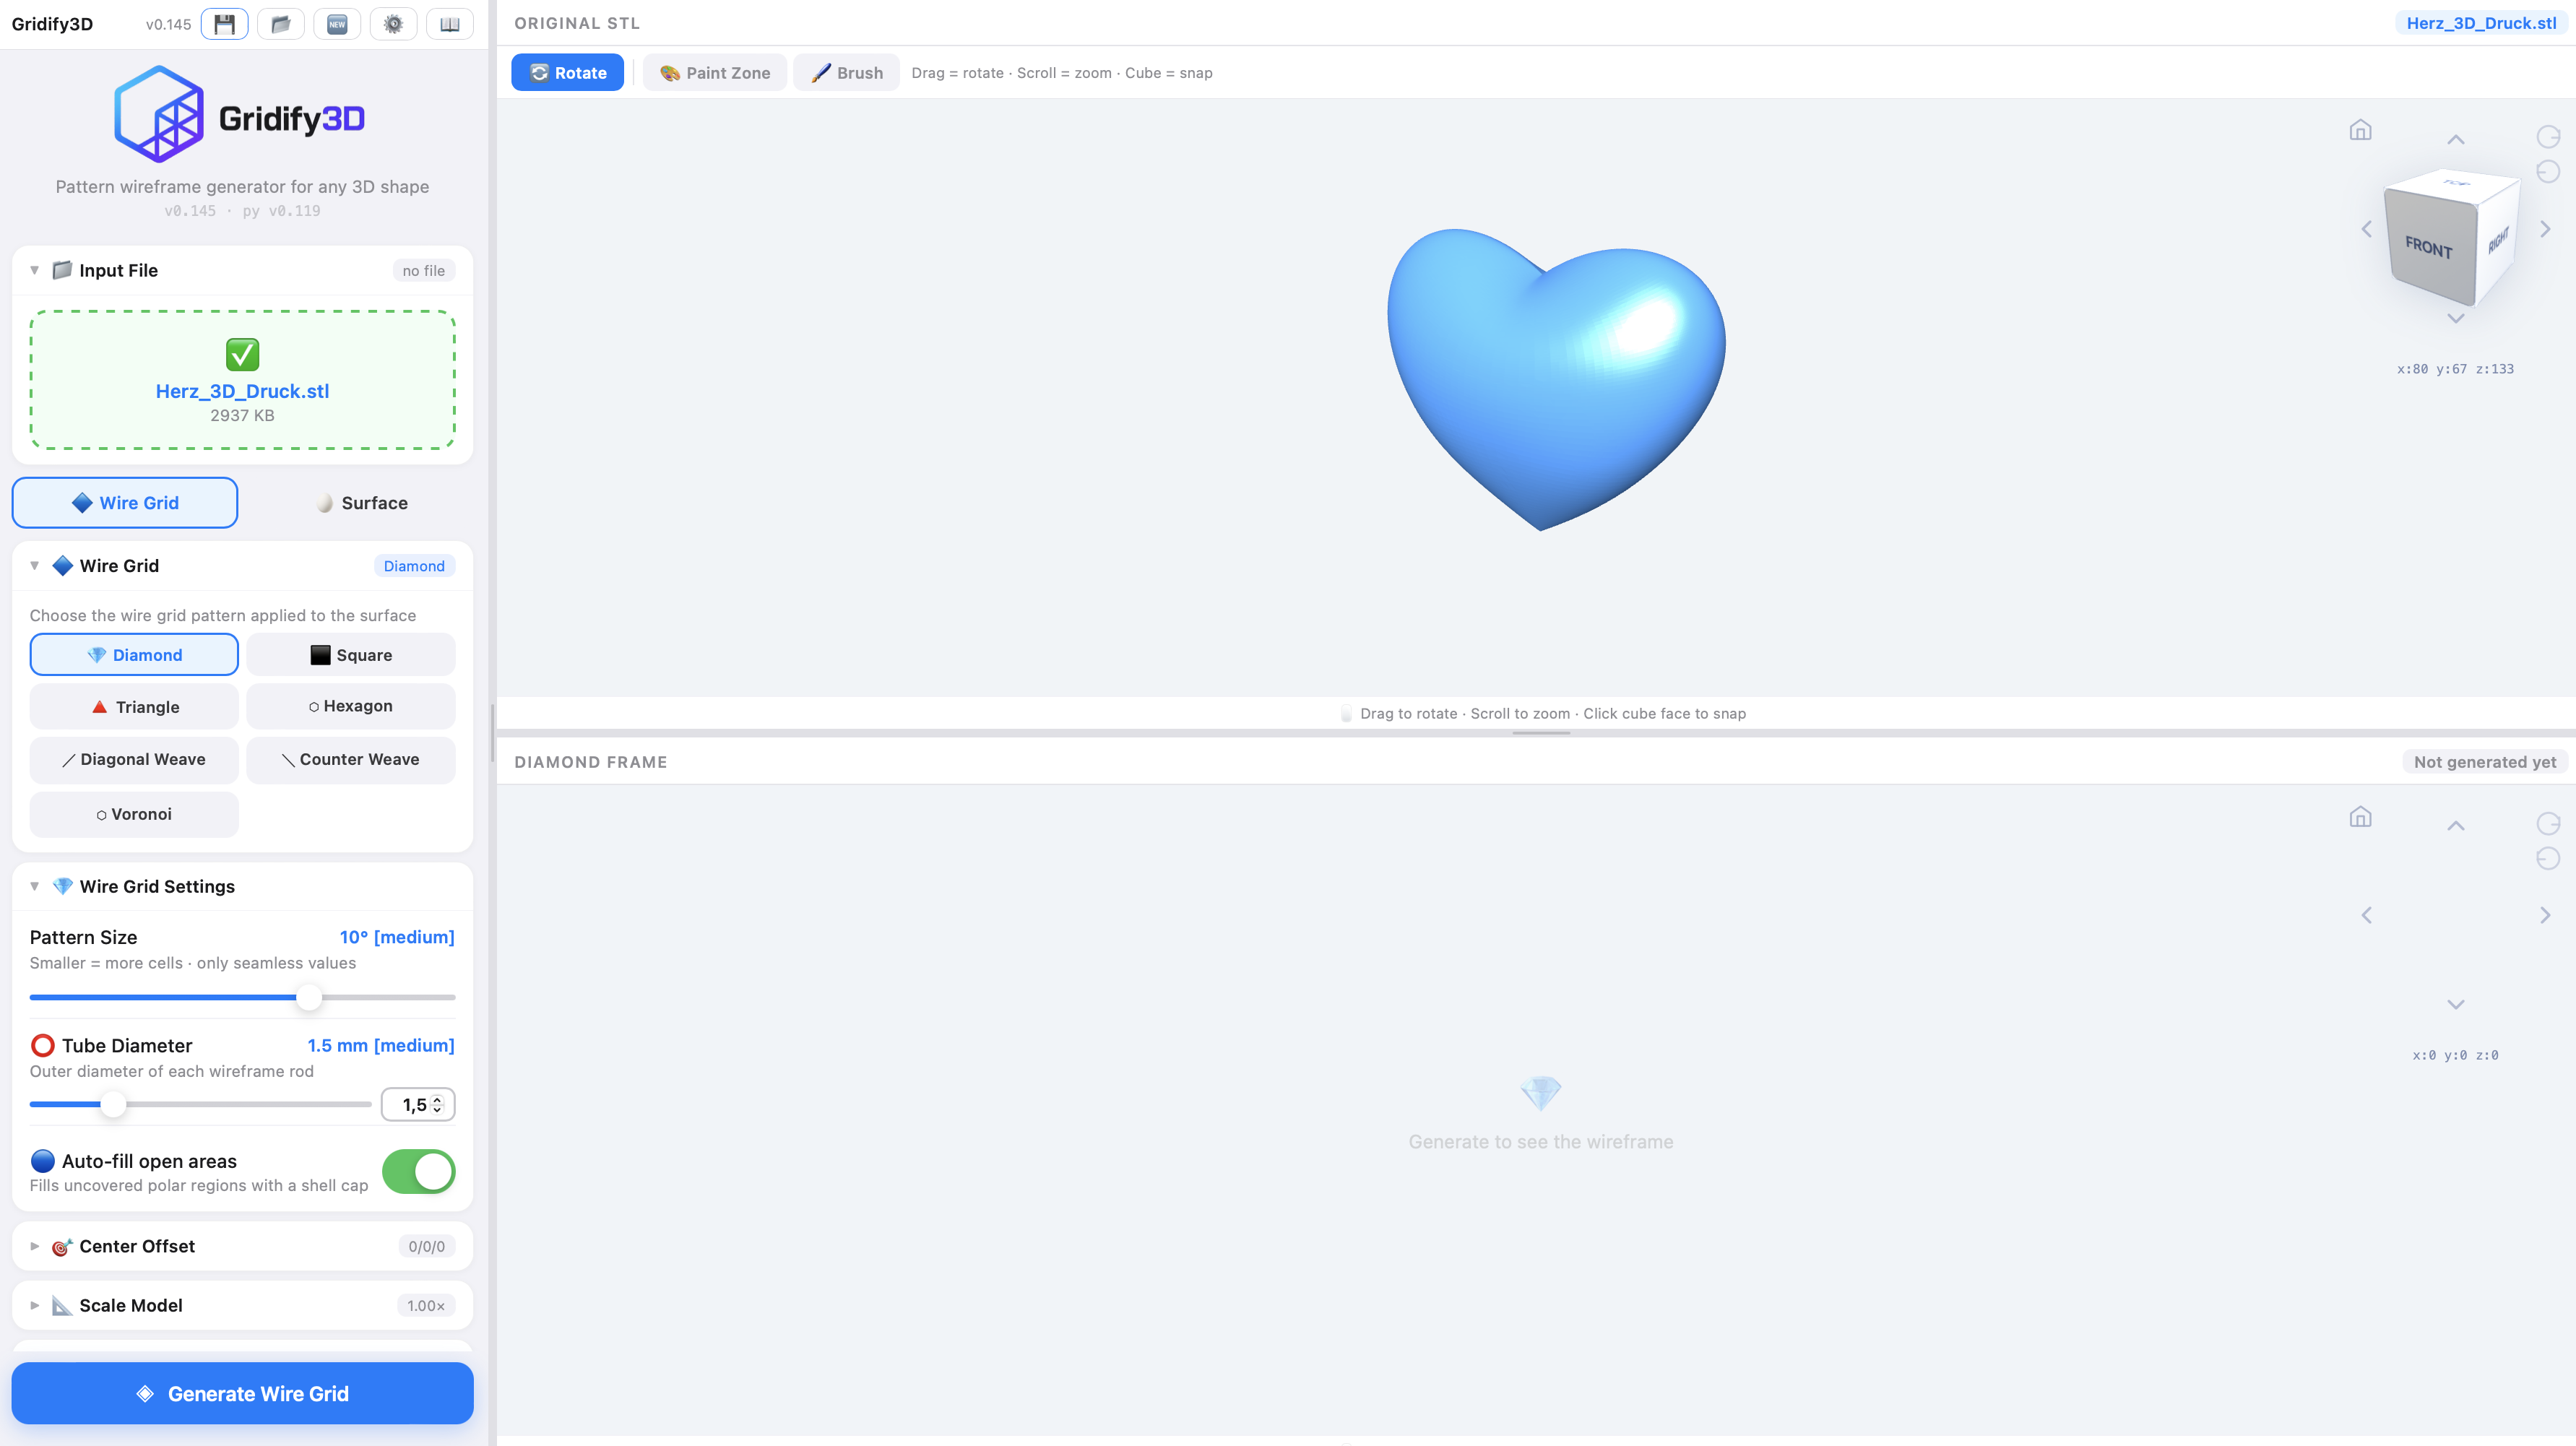
The interface has two halves: a control panel on the left where you set everything up, and a 3D preview on the right where you inspect your model and the result. The big blue Generate button sits at the bottom of the control panel.
1 Upload your STL
Everything starts with a 3D model in STL format.
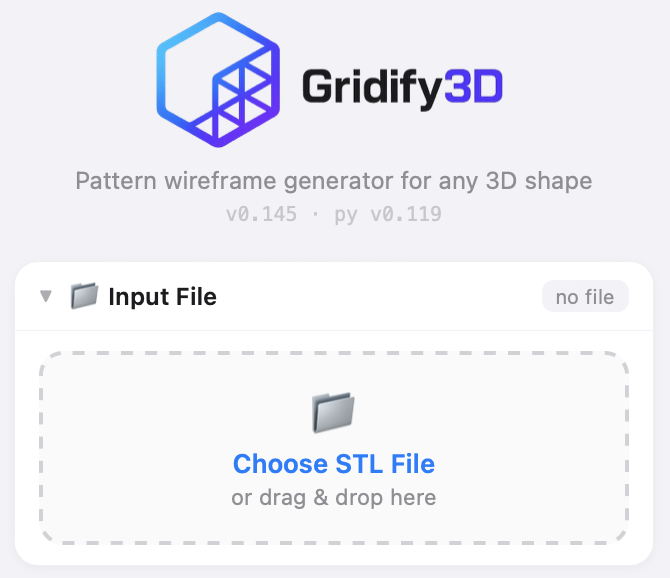
- Open the 📁 Input File panel at the top of the controls.
- Click Choose STL File, or drag & drop a
.stlfile directly onto the drop zone. - The model appears in the right-hand preview. Drag to rotate, scroll to zoom, and click a face of the cube in the corner to snap to a standard view.
2 Choose a mode
Right below the upload panel you choose how Gridify3D transforms your model. There are two fundamentally different modes.
Wire Grid
Turns the surface of your model into a wireframe lattice — diamonds, hexagons, squares and more, projected cleanly over the whole shape.
Surface
Keeps a solid shell and decorates it: punch holes through it, engrave depressions into it, or stamp raised shapes onto it, at evenly spaced points.
Click 🔷 Wire Grid or 🥚 Surface to switch. The control panel updates to show the options for the mode you picked. We'll cover each in turn.

3 Wire Grid mode
Wire Grid turns your model into a printable lattice. You pick a pattern, set how fine it is, and how thick the rods are.
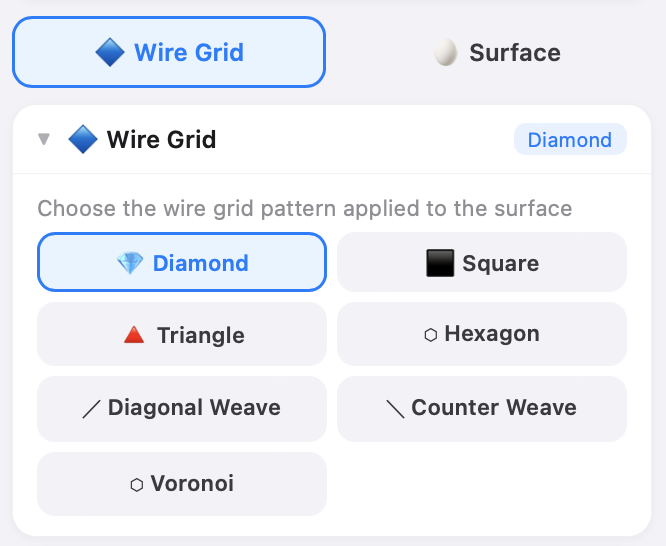
Choose a pattern
In the 🔷 Wire Grid panel, pick the pattern that's projected onto the surface:
- 💎 Diamond — the classic crossing-rods look.
- ⬛ Square — a regular grid of squares.
- 🔺 Triangle — triangular mesh, very rigid.
- ⬡ Hexagon — honeycomb cells.
- ⟋ Diagonal Weave / ⟍ Counter Weave — woven diagonal lines.
- ⬡ Voronoi — organic, irregular cells.
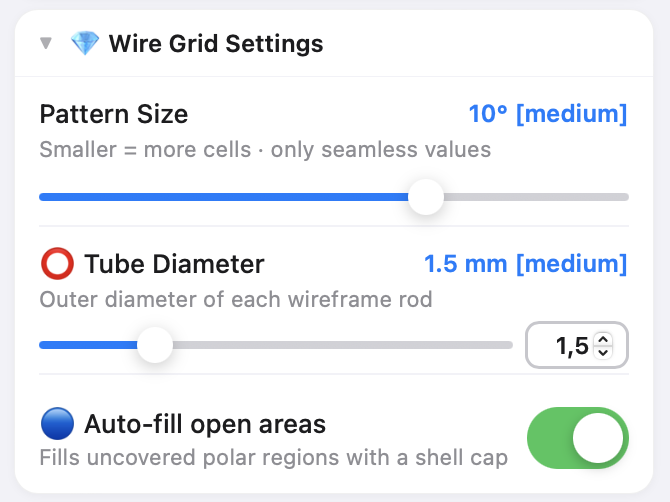
Set the pattern size
The Pattern Size slider controls how fine the grid is, measured in degrees. Smaller values = more, smaller cells; larger values = fewer, larger cells. Only seamless values are offered, so the pattern always wraps cleanly around the model.
Tube diameter & open areas
| Setting | What it does |
|---|---|
| ⭕ Tube Diameter | The outer thickness of every rod in the wireframe. Thicker rods are stronger but heavier and use more material. |
| 🔵 Auto-fill open areas | When on, the uncovered polar regions (top/bottom of the projection) are closed with a smooth shell cap instead of being left open. |
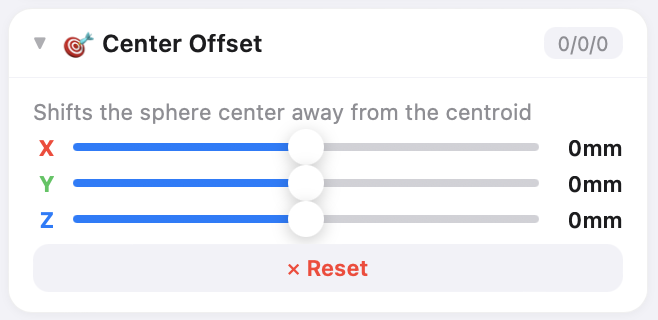
🎯 Center Offset
The pattern is projected outward from a center point. By default that's the model's centroid. The X / Y / Z offset sliders shift that center, which changes how the pattern wraps around the model — useful for asymmetric shapes. Hit ✕ Reset to recenter.
4 Surface mode
Surface mode keeps a solid shell of your model and decorates it. Shapes are placed at evenly spaced points across the surface, and you decide whether they're punched through the wall, engraved into it, or stamped onto it.
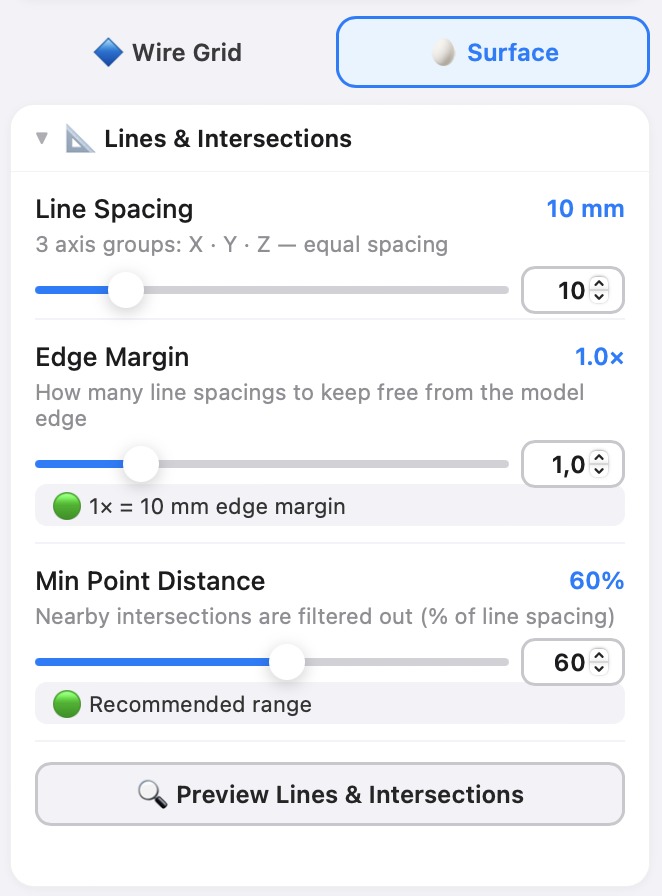
Lines & Intersections
This panel defines the grid of points where shapes will be placed.
| Setting | What it does |
|---|---|
| Line Spacing | Distance between the grid lines (X · Y · Z). Smaller spacing = more points = more shapes. |
| Edge Margin | How many line-spacings to keep clear of the model's edges, so shapes don't sit right on a rim. |
| Min Point Distance | Filters out points that are too close together, as a percentage of the line spacing. Prevents overlapping shapes. |
Click 🔍 Preview Lines & Intersections to see exactly where shapes will land before you generate.
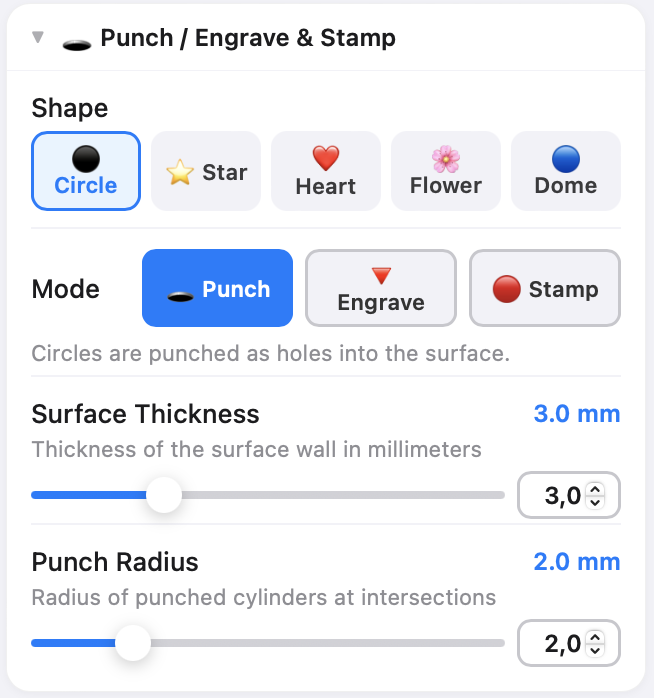
Punch / Engrave & Stamp
Here you choose the shape, then whether to punch, engrave, or stamp it.
- Shapes: ⚫ Circle · ⭐ Star · ❤️ Heart · 🌸 Flower · 🔵 Dome.
- 🕳 Punch cuts the shape as a hole straight through the surface wall.
- 🔻 Engrave carves the shape into the solid surface as a depression — the body stays intact.
- 🔴 Stamp raises the shape outward from the surface as a relief.
| Setting | What it does | When |
|---|---|---|
| Surface Thickness | Thickness of the shell wall in mm. | Punch |
| Engrave Depth | How deep the shape is carved into the surface. | Engrave |
| Stamp Height | How far the stamped shape protrudes above the surface. | Stamp |
| Radius | Size of each shape. | All three |
5 Shared options
These panels work in both modes and let you fine-tune the result.
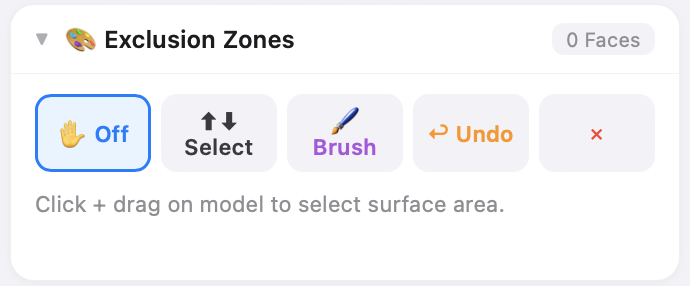
🎨 Exclusion Zones
Sometimes you want part of the model left solid — a flat base, a logo area, a spot that shouldn't have holes. Exclusion Zones let you paint those areas directly on the model.
- ✋ Off — normal rotate/inspect mode.
- ⬆⬇ Select — click & drag on the model to mark a surface area.
- 🖌 Brush — paint zones freehand; adjust the brush Radius as needed.
- 🔀 Angle — when on, the selection stops automatically at sharp/concave transitions, so it's easy to grab just one panel or face.
- ↩ Undo / ✕ Clear — step back or remove all zones.
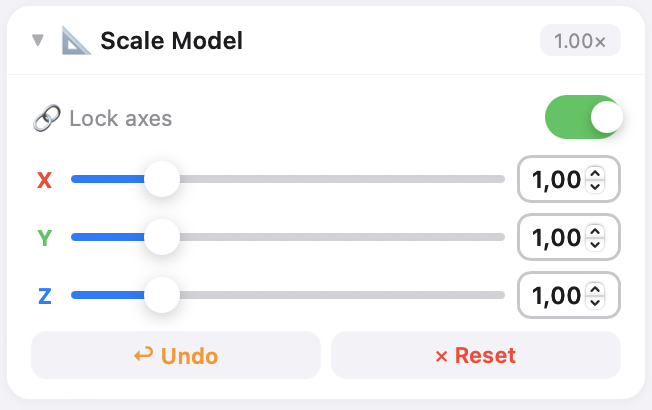
📐 Scale Model
Resize the model along each axis independently with the X / Y / Z sliders. Turn on 🔗 Lock axes to scale uniformly. ↩ Undo and ✕ Reset are there if you overshoot. The preview updates live, so what you see is what you'll print. Scale is available in both Wire Grid and Surface mode.
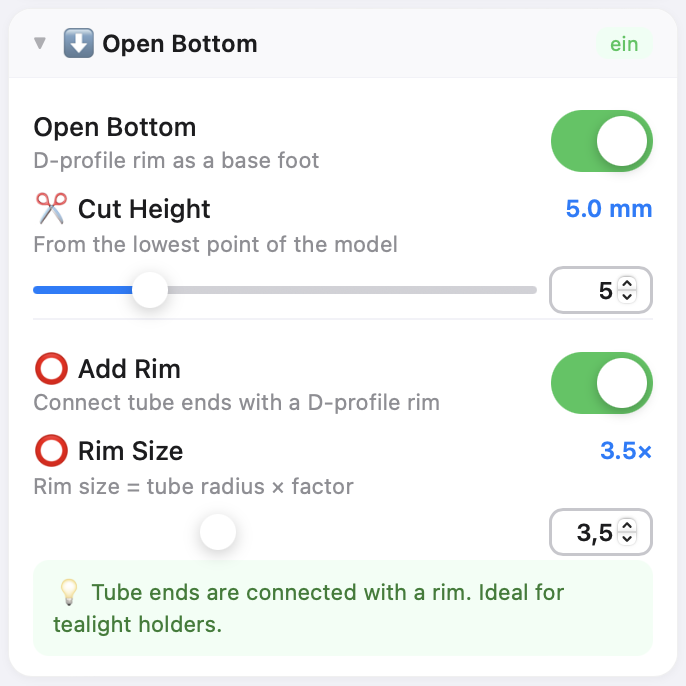
⬇️ Open Bottom / ✂️ Cut Bottom
For objects that need a flat, open base — like a tealight holder or vase — enable Open Bottom. It cuts the model at a height you choose and can add a rounded rim to tidy the cut edge.
| Setting | What it does |
|---|---|
| ✂️ Cut Height | How far up from the lowest point the model is cut open. |
| ⭕ Add Rim | Connects the cut edges with a smooth D-profile rim. In Wire Grid mode the rim size is a factor of the tube radius; in Surface mode (Punch) it's set directly in mm. |
6 Save & continue later
You don't have to finish in one sitting. A whole project — the model, all your settings, and any painted zones — can be saved to your computer and reopened any time to keep working.
The project buttons sit in the top bar of the control panel:
| Button | What it does |
|---|---|
| 💾 Save | Saves the entire project as a single .edf file on your computer — including the embedded STL, every setting, and all Exclusion Zones. |
| 📂 Open | Opens a previously saved .edf file so you can carry on exactly where you left off. |
| 🆕 New | Clears everything and starts a fresh project. |
.edf file — there's nothing stored on the server. Keep that file and your work is safe; share it and someone else can open the exact same project.Saving
Click 💾 Save, give the project a name (and an optional note), and download the .edf file. Because the original STL is embedded inside it, the file is fully self-contained.
Opening again
Click 📂 Open and pick your .edf file. A dialog shows the project's details — name, note, original STL, save date and zone count — and gives you two ways to load it:
- 📁 STL & load — loads everything including the 3D preview, ready to continue or generate.
- Params only — loads just the settings, without the STL preview. Handy for applying the same setup to a different model.
7 Generate & download
Once everything looks right, it's time to build the final mesh.
- Click the blue ◈ Generate button at the bottom of the control panel.
- Your job runs on the server. Follow live progress in the 📋 Log panel and the progress bar. Generation typically takes 30 seconds to 3 minutes depending on complexity. If several people generate at once, jobs are queued fairly.
- You can ✖ Cancel a running job at any time.
- When it's done, the result appears in the preview and the ⬇️ Download STL button activates. Click it, give your file a name, and save it.

The downloaded STL is a watertight, manifold mesh — drop it straight into your slicer (Bambu Studio, PrusaSlicer, Cura, …) and print.
Tips & troubleshooting
| Situation | What to try |
|---|---|
| Result is too dense / fragile | Increase Pattern Size, or increase Tube Diameter for stronger rods. |
| Shapes overlap in Surface mode | Raise Min Point Distance or increase Line Spacing. |
| Pattern wraps oddly | Adjust the Center Offset so the projection center sits inside the model. |
| Want a solid area | Paint an Exclusion Zone over it before generating. |
| Open top/bottom looks rough | Enable "Auto-fill open areas" (Wire Grid) or add a rim (Open Bottom). |
| Generation fails on a complex model | Try a simpler/cleaner watertight STL, or scale it down slightly. Very large boolean jobs are heavier to compute. |